Learning how to caramelize crème brûlée might seem daunting, but with the right tips, anyone can master this sweet technique. At the heart of its charm lies the caramelized sugar crust, a thin, glass-like topping that breaks with a satisfying crack! Learning how to caramelize brûlée might seem intimidating, but with the right tips and techniques, you’ll soon master the art of creating this irresistible dessert at home.
Understanding Crème Brûlée: A Sweet Introduction
Before diving into caramelization, let’s take a moment to appreciate the dessert itself. Crème brûlée, French for “burnt cream,” dates back to the 17th century and has since become a symbol of indulgence. It combines a velvety custard base, often flavored with vanilla, and a hardened caramelized sugar layer that adds crunch and sweetness.
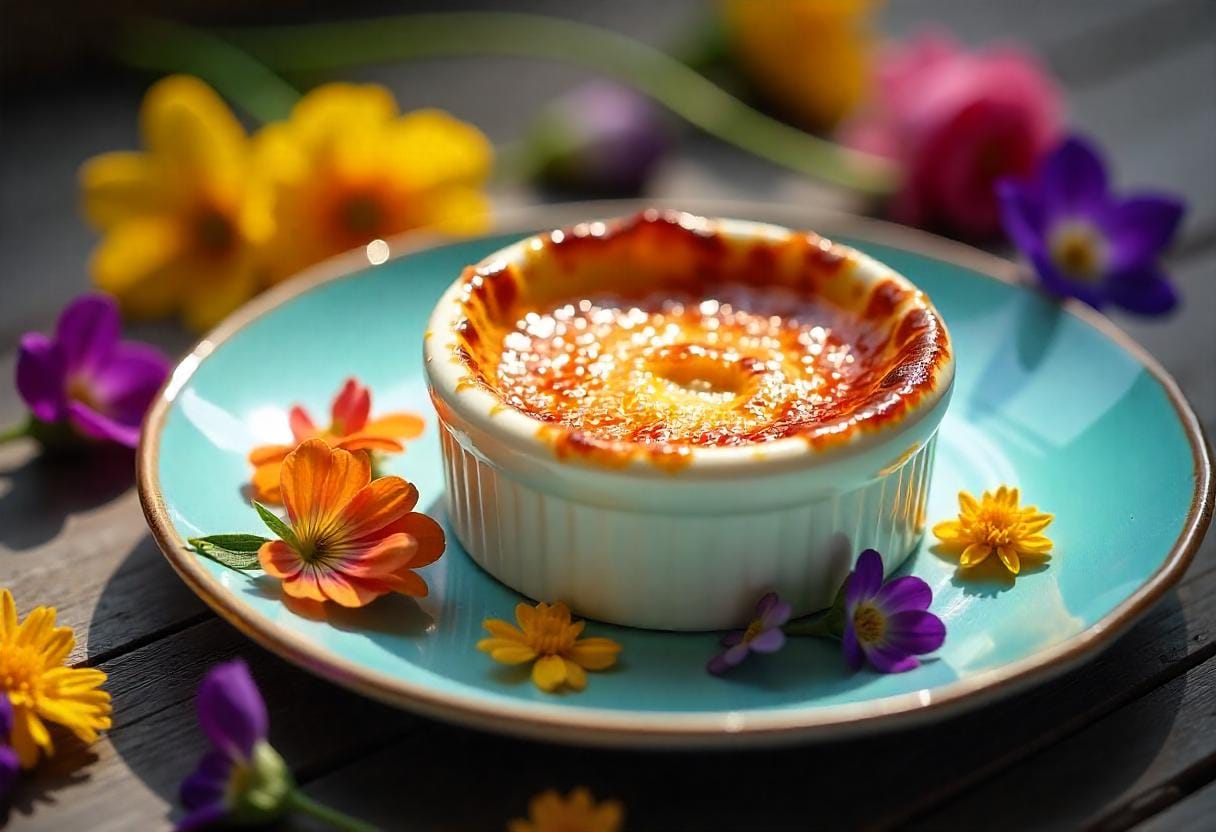
The contrast between the smooth custard and the crispy sugar topping is what makes crème brûlée so enchanting. Caramelization is the magic touch that transforms it from a creamy dessert to a show-stopping masterpiece.
Why Caramelizing Brûlée is Essential to the Perfect Dessert
Understanding how to caramelize crème brûlée involves more than just applying heat. It’s about achieving a perfect balance of crunch and flavor. The caramelized sugar not only adds texture and flavor but also creates an impressive presentation.
When you torch the sugar, it undergoes a process called the Maillard reaction, where heat transforms it into a rich, golden crust. This crust offers a subtle bitterness that balances the sweetness of the custard, creating a dessert that’s truly irresistible.
Tools You Need for Caramelizing Brûlée
Creating that signature caramelized top requires the right tools and ingredients. Here’s what you’ll need:
Choosing the Right Torch: Options and Features
A kitchen torch is your best friend when caramelizing brûlée. Look for one that:
- Offers adjustable flame control.
- Has a comfortable grip for steady handling.
- Comes with a refillable fuel tank for convenience.
Don’t own a torch? No problem! You can use your oven’s broiler as an alternative, though it takes more practice to achieve even caramelization.
Alternatives to Torches: Oven Broiler and Other Methods
If you’re not ready to invest in a torch, the oven broiler can work in a pinch. Simply place your ramekins on the top rack and keep a close eye as the sugar caramelizes. However, be warned—it’s easy to burn the sugar or overcook the custard this way.
Other Essentials: Sugar Types and Ramekins
- Sugar: Use granulated sugar for the best results. Its fine texture allows for even caramelization. Avoid brown sugar, as it can clump and burn unevenly.
- Ramekins: These small, heatproof dishes are a must for baking and serving crème brûlée. Opt for shallow ramekins, as they provide a better surface area for caramelizing the sugar evenly.
« A good torch is like a magic wand for desserts—it transforms sugar into caramel with a flick of the wrist! »
Step-by-Step Process: How to Caramelize Brûlée Like a Pro
If you’re ready to learn how to caramelize crème brûlée, start by preparing your custard base with care and precision
Preparing the Crème Brûlée Base
Before you can caramelize, you need a well-prepared custard base. Here’s a quick overview:
| Ingredient | Quantity |
|---|---|
| Heavy cream | 2 cups |
| Vanilla bean or extract | 1 tsp (or 1 bean) |
| Egg yolks | 5 large |
| Granulated sugar | ½ cup |
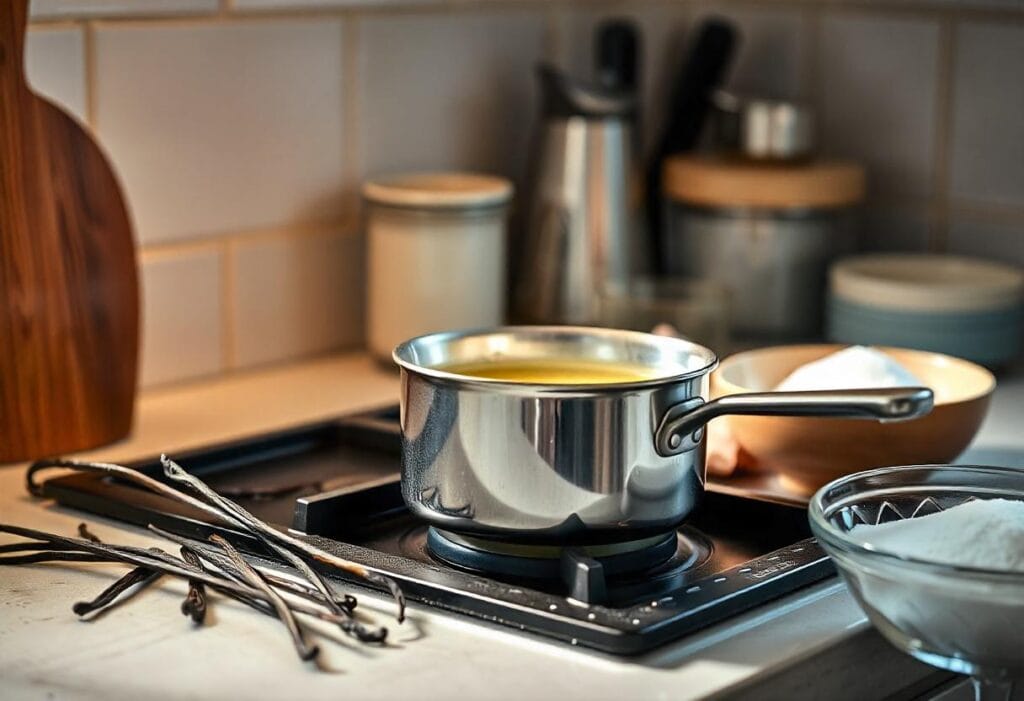
- Heat the cream with the vanilla until warm but not boiling.
- Whisk the egg yolks and sugar in a separate bowl until pale and creamy.
- Gradually add the warm cream to the yolks, stirring constantly to prevent curdling.
- Pour the mixture into ramekins and bake in a water bath at 325°F (160°C) for 40–50 minutes.
- Chill the custard in the refrigerator for at least 4 hours.
Applying the Sugar Layer: Thickness and Evenness
The key to a perfect brûlée is a thin, even layer of sugar. Too much sugar can burn before it caramelizes, while too little won’t form a proper crust. Aim for a layer about 1/16 of an inch thick. Gently shake the ramekin to distribute the sugar evenly.
« Think of the sugar layer as a blank canvas—you want it smooth and ready for your masterpiece! »

Torching the Sugar to Perfection
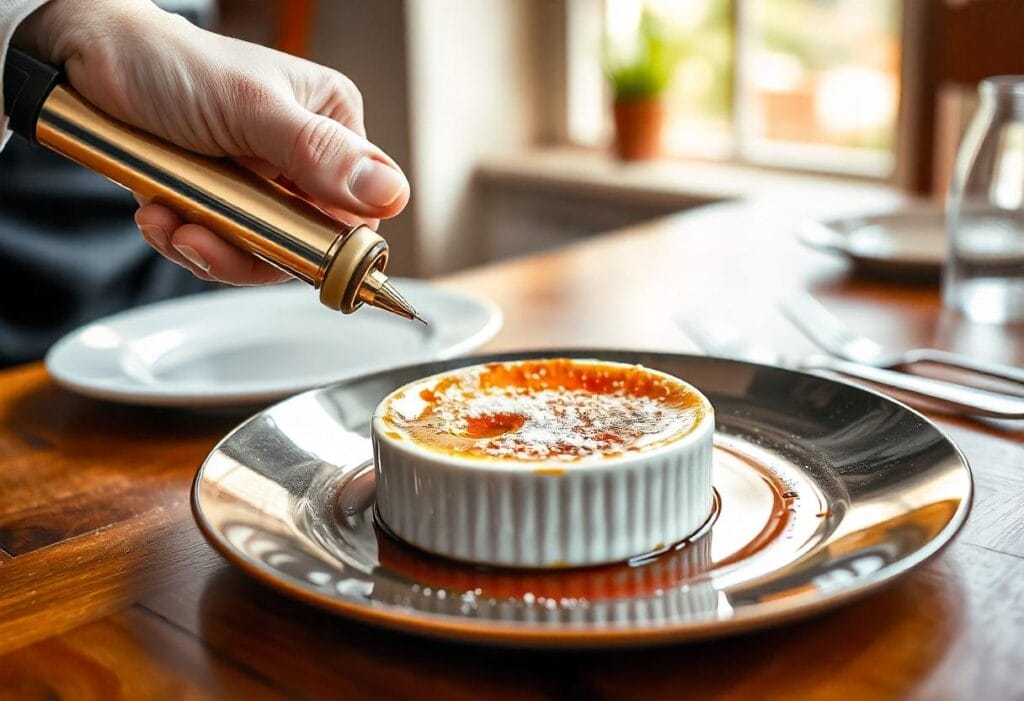
Here comes the fun part! Using your torch, apply a steady, circular motion to the sugar. Hold the flame a few inches away to avoid burning. Watch as the sugar melts, bubbles, and turns golden brown. It’s like watching a mini firework display in your kitchen!
Tips for torching:
- Move quickly but evenly to avoid over-caramelizing certain spots.
- Let the brûlée sit for a minute after torching to allow the crust to harden.
« The moment the sugar turns golden is when the real magic happens—it’s like a sweet alchemy! »

Common Problems When Caramelizing Brûlée
One of the most common challenges when learning how to caramelize crème brûlée is preventing uneven caramelization
Sugar That Burns or Doesn’t Melt Properly
- Cause: The torch is held too close, or the sugar layer is too thick.
- Solution: Maintain a steady distance and ensure an even sugar layer before torching.
Uneven Caramelization: Causes and Fixes
- Cause: Uneven sugar distribution or inconsistent torch movement.
- Solution: Shake the ramekin gently to level the sugar and use slow, steady torch movements.
Cracked or Overcooked Custard
- Cause: Overbaking the custard or exposing it to prolonged heat during caramelization.
- Solution: Bake the custard just until set and keep the torching process quick and precise.
« Remember, every mistake is a lesson in disguise—soon, you’ll be torching like a pro! »
Tips for Perfecting Your Brûlée Caramelization
Perfecting how to caramelize crème brûlée means mastering torch techniques and experimenting with sugar types. Here are some pro tips to take your brûlée game to the next level.
Achieving the Right Sugar-to-Custard Ratio
The balance between sugar and custard is crucial. Too much sugar can overshadow the creamy base, while too little won’t give you that satisfying crunch. A light, even dusting of granulated sugar is your best bet.
Practicing with Different Sugars for Better Results
While granulated sugar is the gold standard, experimenting can yield exciting results:
- Turbinado Sugar: Adds a deeper, more caramel-like flavor.
- Caster Sugar: Ideal for achieving an ultra-thin crust due to its fine texture.
- Coconut Sugar: A unique option for those looking to introduce subtle tropical notes.
« Think of sugar as your creative medium—it’s all about finding the one that suits your style! »
Timing and Torch Techniques for Consistency
Timing is everything when using a torch. Keep the flame moving in a steady circular motion to avoid burning any single spot. If you’re new to torching, practice on a small ramekin first to get the hang of it.
« Torching is like painting with fire—steady hands and patience are key to perfection! »
Flavor Enhancements for Caramelized Brûlée
Why stick to the basics when you can add a twist? Elevate your crème brûlée with creative flavors and toppings that wow your taste buds.
Adding Aromatics: Vanilla, Citrus, and More
Infusing your custard base with aromatics can transform your dessert.
- Vanilla Bean: The classic choice for an elegant, floral note.
- Citrus Zest: Lemon, orange, or lime zest adds a refreshing zing.
- Lavender or Rose Water: Perfect for a subtle floral aroma that feels luxurious.
« Adding aromatics is like giving your dessert a personality—it’s sweet, sophisticated, and unforgettable! »
Experimenting with Unique Sugars and Toppings
Take your brûlée to the next level with unconventional toppings:
- Spiced Sugar Mix: Add a pinch of cinnamon or nutmeg to the sugar before caramelizing.
- Tropical Fruits: Pineapple or mango slices can be lightly torched alongside the sugar for a tropical twist.
- Savory Elements: A sprinkle of sea salt over the caramelized crust creates a delicious contrast.
« Every brûlée topping tells a story—make yours unique and memorable! »
Alternatives to Traditional Crème Brûlée
Crème brûlée is versatile enough to adapt to modern dietary needs and adventurous palates.
Vegan and Dairy-Free Crème Brûlée Options
For a plant-based version, substitute these ingredients:
- Coconut Cream or Cashew Milk: Replace heavy cream for a creamy texture.
- Agar-Agar: Acts as a stabilizer for the custard without eggs.
The process remains largely the same—just bake, chill, and torch as usual!
Flavor Variations: Chocolate, Coffee, and Lavender
Crème brûlée isn’t limited to vanilla. Here are a few creative spins:
- Chocolate Crème Brûlée: Add melted dark chocolate to the custard base for a rich, decadent treat.
- Coffee Crème Brûlée: Infuse the cream with espresso for a bold, caffeinated twist.
- Lavender Crème Brûlée: Use dried lavender buds to add a floral aroma that’s light and refreshing.
« With so many variations, brûlée never gets boring—it’s a dessert that evolves with your imagination! »
Advanced Tips for Caramelizing Brûlée
Once you’ve mastered the basics, it’s time to refine your technique and impress even the toughest critics.
The Art of Even Torch Movement
One of the most overlooked aspects of caramelizing brûlée is torch movement. Think of it like spray painting—you want smooth, even strokes, not sporadic bursts.
- Start at the Edges: Begin torching the sugar along the outer rim and work your way inward. This ensures consistent heat application.
- Use Gentle Pulses: Instead of holding the flame in one spot, use quick, pulsing motions to control the caramelization.
« A steady hand and a calm approach make all the difference in creating that flawless golden crust. »
Layering Flavors into the Sugar Crust
For an extra burst of flavor, try infusing your sugar layer with additional ingredients before caramelizing.
- Citrus Zest: Grate a touch of lemon or orange zest into the sugar for a zingy aroma.
- Spices: Mix a pinch of cinnamon, cardamom, or even ground ginger into your sugar for a warm, spiced crust.
- Salted Caramel Twist: Add a sprinkle of sea salt after caramelizing for a salted caramel vibe.
Creative Serving Ideas for Crème Brûlée
Presentation is key when serving crème brûlée. Elevate your dessert with these creative ideas:
Mini Brûlées in Unique Containers
Serve individual portions in non-traditional ramekins, like teacups, mason jars, or even hollowed-out fruit like oranges or pineapples. These quirky containers add charm and make your dessert stand out.
Brûlée Tasting Platter
Why settle for one flavor when you can create a brûlée tasting platter? Prepare mini portions of different varieties—classic vanilla, coffee, and chocolate brûlées—and let guests enjoy a flavor journey.
« A brûlée tasting platter is like a symphony of flavors, each bite hitting a unique note! »
Crème Brûlée as a Topping
Take your caramelized crust to new heights by using it as a topping for other desserts:
- Brûlée-Topped Cheesecake: Add a layer of caramelized sugar to a classic cheesecake.
- Brûlée Ice Cream Sundae: Torch sugar over a scoop of vanilla ice cream for an exciting twist.
The History and Cultural Significance of Crème Brûlée
Crème brûlée has stood the test of time, evolving into a beloved dessert worldwide. But where did it come from?
- French Origins: Often credited to France, crème brûlée appeared in a 1691 French cookbook by François Massialot.
- English Custard Influence: The English have their own version, known as “burnt cream,” which dates back to Trinity College in Cambridge. The college is famous for branding its custard with a hot iron, creating a similar caramelized top.
- Spanish Flan Connection: Spain has its cousin, “crema catalana,” made with milk instead of cream and often flavored with cinnamon or citrus.
« Crème brûlée isn’t just a dessert—it’s a culinary passport that connects cultures through sweetness and tradition. »
Experimenting with Seasonal and Holiday Brûlée Variations
Celebrate the changing seasons and holidays with brûlée flavors that capture the essence of the moment.
Spring and Summer Brûlées
- Berry Brûlée: Incorporate fresh strawberries, blueberries, or raspberries into the custard base for a fruity twist.
- Lemon Basil Brûlée: Infuse the cream with lemon zest and a hint of fresh basil for a refreshing summer treat.
Fall and Winter Brûlées
- Pumpkin Spice Brûlée: Add pumpkin puree and warm spices like nutmeg, cinnamon, and cloves to create a fall-inspired dessert.
- Eggnog Brûlée: Replace some cream with eggnog and sprinkle nutmeg over the caramelized sugar for a holiday classic.
Troubleshooting Caramelization Problems in More Detail
Even experienced chefs run into issues when caramelizing brûlée. Let’s tackle a few more advanced troubleshooting scenarios:
Problem: Sugar Melts Too Slowly
Cause: Low flame intensity or an overly thick sugar layer.
Solution: Double-check your torch settings and thin out the sugar layer by sifting it evenly. If using a broiler, preheat it for 5 minutes to ensure high, consistent heat.
« Sugar that takes too long to caramelize can result in uneven crusts. Think of your torch as the speed dial for perfect caramelization! »
Problem: Burnt Sugar Aroma
Cause: Holding the torch too close or lingering in one spot.
Solution: Always keep the flame moving and adjust the distance as needed—about 2–3 inches away works best.
Problem: Custard Overheats During Caramelization
Cause: Prolonged exposure to heat while caramelizing.
Solution: Place ramekins in a shallow ice bath before torching to keep the custard cool while caramelizing the sugar.
Hosting a Crème Brûlée Night: A Fun and Interactive Experience
Want to take your crème brûlée skills to the next level? Host a dessert night where guests can customize their brûlées!
DIY Brûlée Bar
Set up a brûlée bar with:
- Custard Bases: Offer vanilla, chocolate, and coffee-flavored custards.
- Sugar Mixes: Provide a variety of sugars, from granulated to coconut and turbinado.
- Toppings: Let guests choose from fresh fruits, spices, and edible flowers.
Provide torches so each guest can caramelize their dessert. Not only is it fun, but it also turns your dinner party into an interactive culinary event.
« A DIY brûlée bar is like a dessert workshop—it’s fun, creative, and absolutely delicious! »
Healthier Crème Brûlée Options
If you’re looking to enjoy crème brûlée without overindulging, there are plenty of ways to lighten it up:
Sugar-Free Brûlée
Swap granulated sugar with a sugar substitute like erythritol or stevia. Keep in mind that not all sugar substitutes caramelize well, so choose one designed for baking.
Low-Calorie Custard Base
Use low-fat milk or coconut milk instead of heavy cream. While this will slightly alter the texture, it still provides a creamy base for your brûlée.
« Health-conscious brûlée is proof that dessert doesn’t have to be off the menu—it just takes a little creativity! »
Frequently Asked Questions About Caramelizing Brûlée
Still have burning questions? Let’s clear up some common curiosities.
Why Won’t My Sugar Caramelize?
If your sugar refuses to melt or caramelize, check these factors:
- Torch Heat: Ensure your torch is fully fueled and producing enough heat.
- Sugar Layer: Thin layers caramelize faster and more evenly than thick ones.
- Moisture: If your sugar absorbs moisture from the custard, it may need extra torching.
« Pro Tip: Use fresh granulated sugar right before torching to avoid moisture buildup. »
Can I Caramelize Brûlée Without a Torch?
Yes! While a torch is ideal, you can use your oven’s broiler. Place your ramekins on the top rack and monitor closely as the sugar melts and browns. Remember, broilers are less precise than torches, so practice makes perfect.
How Far in Advance Can I Caramelize Crème Brûlée?
For best results, caramelize just before serving. The sugar crust softens over time due to moisture from the custard. However, if you must prepare ahead, do so within an hour of serving.
« Freshly caramelized brûlée is like a warm hug—crisp, sweet, and perfect every time! »
Conclusion: Mastering the Art of Caramelizing Brûlée
Mastering how to caramelize crème brûlée allows you to create a dessert that’s both delicious and impressive. Armed with the right tools, techniques, and a dash of creativity, you can create a dessert that’s not only delicious but also visually stunning.
So, grab your torch, your ramekins, and your favorite sugar. Get ready to transform simple ingredients into a dessert that wows every single time. Whether you’re sticking to the classic or experimenting with bold flavors, the crack of caramelized sugar atop creamy custard is always worth it.
« Remember, a perfect brûlée isn’t about perfection—it’s about the joy of creating and sharing something sweet! »

