Table of Contents
If you’ve ever wondered how to fold cappelletti pasta like a true Italian chef, you’re in for a treat. Making cappelletti pasta is a timeless culinary art that combines tradition and skill. If you’ve ever wondered how to fold cappelletti pasta like a true Italian chef, you’re in for a treat. This guide will take you step-by-step through the process, from preparing the perfect dough to mastering the folding technique. Whether you’re a beginner or a seasoned cook, you’ll discover tips and tricks to elevate your pasta-making game.

What Is Cappelletti Pasta?
Origins and History of Cappelletti
Cappelletti, which means « little hats » in Italian, comes from Emilia-Romagna, a region known for its rich culinary heritage. These delicate pasta shapes were traditionally made during holidays or festive gatherings. Picture a warm Italian household with flour-dusted counters, laughter, and stories shared over rolling pins—it’s a celebration in every bite.
How Cappelletti Differs from Tortellini
Many people confuse cappelletti with tortellini, but there’s a key difference. While tortellini is often twisted into a ring shape, cappelletti resembles a little hat or a snug bundle. The fillings also vary: tortellini often uses meat-based fillings, while cappelletti leans into cheese and nutmeg combinations for a subtle, creamy taste.
« Cappelletti may look like cousins to tortellini, but they bring their own flair to the table—less ornate, more comforting, like your favorite sweater on a cold day. »
Essential Tools for Folding Cappelletti Pasta
The Perfect Dough for Cappelletti
The dough is your canvas. To make cappelletti, you need a soft, pliable pasta dough that rolls thin but doesn’t tear. Use these ingredients:
| Ingredient | Quantity |
|---|---|
| All-purpose flour | 2 cups |
| Eggs | 3 large |
| Olive oil | 1 tsp |
| Salt | A pinch |
Knead the dough until it’s smooth, wrap it in plastic, and let it rest for 30 minutes. This rest period helps the gluten relax, making the dough easier to roll out.
Must-Have Equipment for Shaping Pasta
- A rolling pin or pasta machine for achieving thin, even sheets.
- A round cutter or knife for precise shapes.
- A small spoon to portion fillings.
- Your hands, because they’re the best tools for creating cappelletti’s delicate folds.
Step-by-Step Guide to Folding Cappelletti Pasta
Preparing the Dough: The Foundation
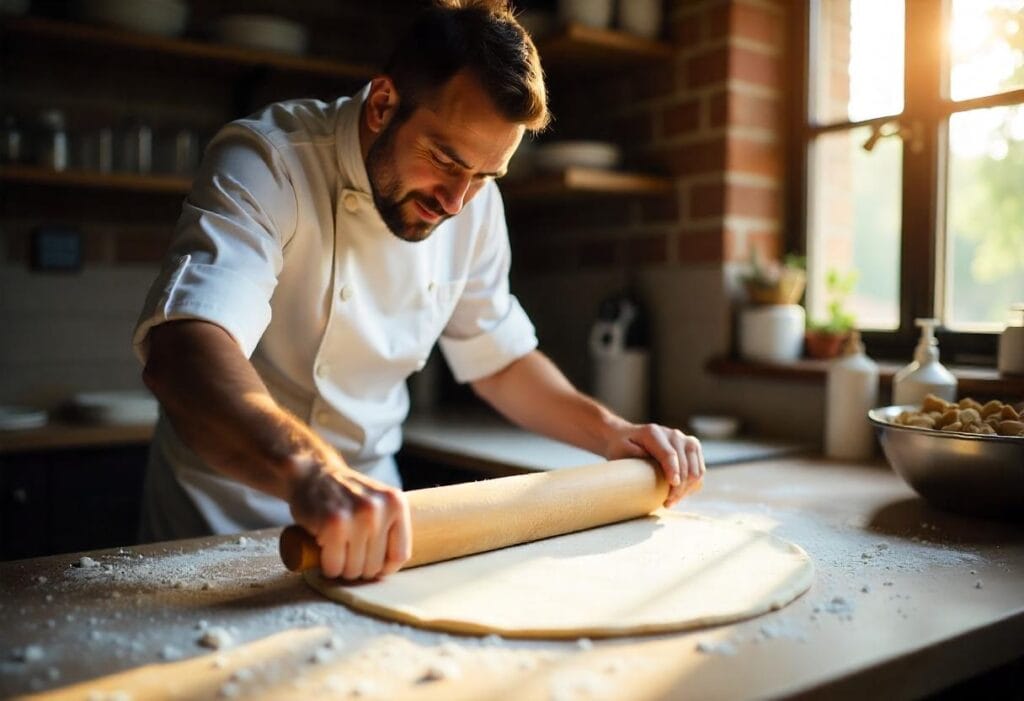
Start with a clean countertop or large wooden board. Sprinkle a little flour to prevent sticking, and roll out the rested dough into a thin sheet about 1mm thick.
👉 Related: Need help making the perfect dough? Read What Is the Best Flour for Making Pasta? to ensure a flawless texture
Making the Filling: Traditional Recipes
Cappelletti filling is usually a delightful mix of ricotta, Parmesan, and nutmeg. Here’s a simple recipe:
| Ingredient | Quantity |
|---|---|
| Ricotta cheese | 1 cup |
| Grated Parmesan | 1/2 cup |
| Nutmeg | A pinch |
| Salt and pepper | To taste |
Mix everything in a bowl until creamy. If you want variety, try adding finely chopped spinach or ground meats for a unique twist.
👉 Related: Looking for other stuffed pasta ideas? Check out Incredible Wagon Wheel Pasta: 5 Essential Recipes for creative meal inspiration.
Cutting and Shaping the Dough
- Use your round cutter to create circles (about 2-3 inches in diameter).
- Place a small dollop of filling in the center of each circle. Be careful not to overfill; a pea-sized amount is perfect.
The Folding Technique Explained
Mastering how to fold cappelletti pasta involves precision and patience. Let’s break it down step-by-step
- Fold the dough circle in half, creating a semi-circle. Press the edges firmly to seal.
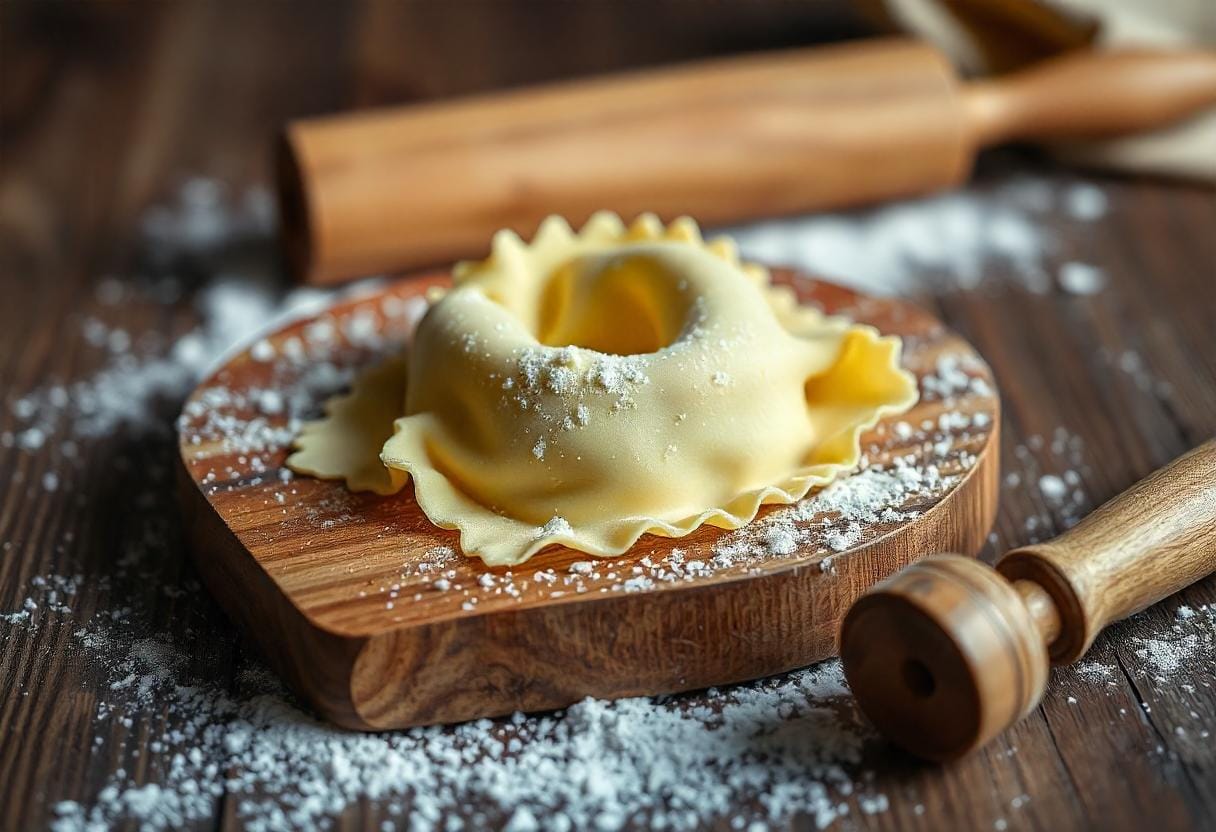
- Take the two corners of the semi-circle and bring them together. Pinch them tightly to form the signature « hat » shape.
You’ve just created your first cappelletti! Repeat until all your dough and filling are used up. Don’t worry if they’re not perfect—each piece has its charm. 😊

Common Mistakes When Folding Cappelletti and How to Avoid Them
Overstuffed or Leaky Pasta
Stuffing too much filling can cause the dough to burst during cooking. Stick to small portions and ensure the edges are sealed well.
👉 Related: Struggling with shaping? Read What Is the Best Way to Shape Pasta? for expert tips on forming perfect pasta.
Dry or Cracked Dough Issues
If your dough cracks while folding, it might be too dry. Cover unused dough with a damp cloth to prevent it from drying out, and use slightly more egg or oil in your next batch.
👉 Related: Want to store your homemade cappelletti? Discover How to Store Fresh Pasta for Maximum Freshness.
Uneven Shaping and Sealing
Consistency is key. Work on one piece at a time and ensure your workspace is free of flour to allow the dough edges to stick properly.
« Patience is the secret ingredient in pasta making. Embrace the imperfections—they’re part of the journey. »
Tips for Achieving Perfect Cappelletti Every Time
Using the Right Amount of Filling
Less is more. A small amount of filling allows you to fold and seal the dough without any leaks.
Maintaining Consistent Dough Thickness
Your dough should be thin but strong. If it’s too thick, the cappelletti will feel doughy. If it’s too thin, it may tear. Practice finding the sweet spot.
Keeping Your Workspace Flour-Free
Excess flour can make it harder to seal the dough. Instead, lightly dust your rolling pin and hands.
Creative Variations for Cappelletti Pasta
Exploring Unique Fillings
While traditional cappelletti fillings focus on cheese and nutmeg, why not think outside the box? Here are some ideas:
- Spinach and Ricotta: Add a splash of green and a hint of freshness.
- Pumpkin and Sage: Perfect for a fall-inspired dish.
- Prosciutto and Parmesan: A nod to Emilia-Romagna’s love for cured meats.
- Mushroom and Truffle: For a luxurious touch that feels like a Michelin-starred meal.
Each filling transforms cappelletti into something unique, proving that tradition and creativity can work together beautifully.
Alternative Shapes for a Modern Twist
If the classic “little hat” shape feels daunting, try experimenting with simpler shapes like:
- Triangles: Fold the dough into a simple triangle instead of the hat shape.
- Pouches: Skip the twist and create tiny pouches.
- Open-Faced: Leave one side open for a rustic, ravioli-like appearance.
Cooking is all about personal flair, so don’t hesitate to add your signature style.
Cooking and Serving Cappelletti Pasta
How to Boil Cappelletti Properly
Cooking cappelletti is straightforward, but a few tips can elevate your results:
- Use a large pot of salted water—imagine the salinity of the sea.
- Gently add cappelletti and stir immediately to prevent sticking.
- Cook for 2-4 minutes or until they float to the surface.
👉 Related: Not sure what sauce to pair it with? Check out Best Sauces for Stuffed Pasta.

Traditional Broth Pairings
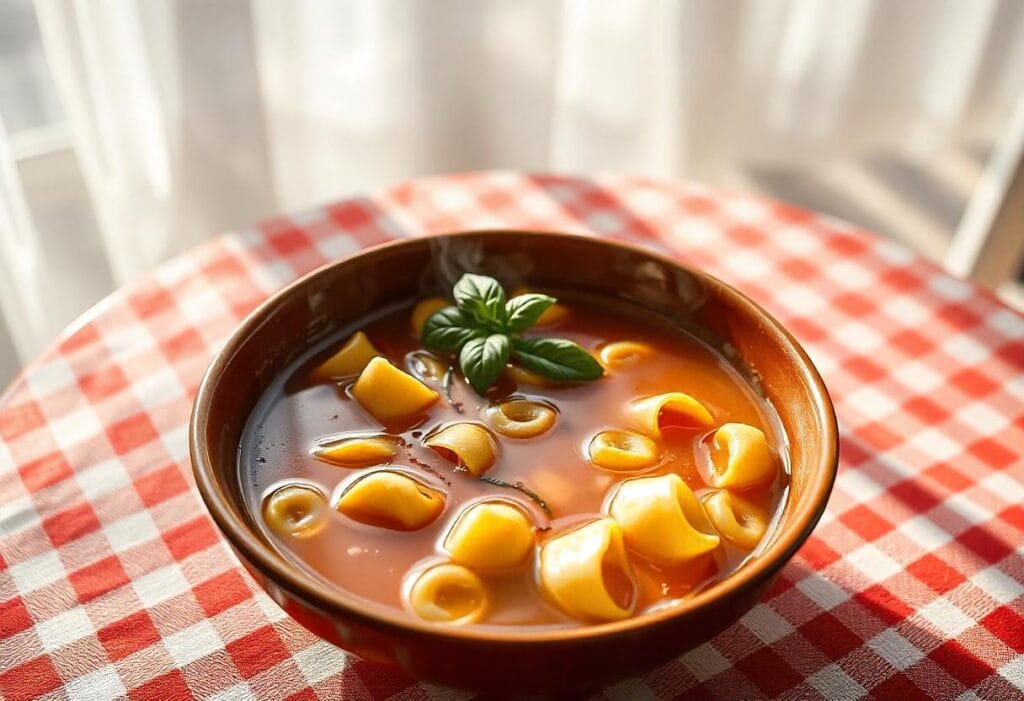
Cappelletti served in a rich broth is the epitome of comfort food. A homemade chicken or beef broth is ideal. Just ladle it over freshly boiled cappelletti, and you’ve got a heartwarming dish for chilly evenings.
👉 Related: Want a similar dish? Try What Is Elote Made Of? for another warm and comforting recipe.
Creative Sauces for Cappelletti
If broth isn’t your style, sauces are an excellent alternative. Try these:
- Brown Butter and Sage: Simple and aromatic.
- Tomato Cream Sauce: A tangy yet creamy delight.
- Pesto: Perfect for a summery twist.
Serve with a sprinkle of Parmesan and freshly cracked black pepper to tie it all together.
Mastering the Art of Folding Cappelletti: Additional Tips for Perfection
How to Create Consistency Across Multiple Cappelletti
When you’re shaping dozens of cappelletti, keeping them uniform can be a challenge. Here’s a trick:
- Use a template cutter to ensure all dough circles are the same size.
- Weigh your filling portions using a small kitchen scale. Aim for 3-4 grams per piece for even results.
Not only does this make your cappelletti look professional, but it also ensures they cook evenly—a critical factor when serving to guests or family.
Setting Up a Productive Pasta Station
If you’ve ever felt like your kitchen is too chaotic during pasta-making sessions, you’re not alone. Here’s how to streamline your setup:
- Divide your workspace: Dedicate one section for rolling dough, another for cutting, and a final area for folding.
- Organize your tools: Keep your cutter, spoon, and damp cloth within easy reach.
- Use parchment paper: Place finished cappelletti on parchment paper to prevent sticking while you work on the next batch.
« A well-organized kitchen is like having a sous-chef by your side—it makes everything flow seamlessly. »
Making Cappelletti a Fun Group Activity
Why not turn cappelletti folding into a social experience? Invite friends or family to join in, and you’ll find that the process becomes a joyful event. Set up a pasta bar with pre-made dough and fillings so everyone can try their hand at shaping.
Add some Italian music to the background, pour a glass of wine, and you’ve got the perfect pasta party atmosphere. 🍷🎶
Perfecting Your Dough-Making Skills
Troubleshooting Dough Issues
Dough consistency is the backbone of any successful cappelletti-making session. If you encounter problems, here’s how to fix them:
- Too Dry? Add a teaspoon of water or olive oil and knead until smooth.
- Too Sticky? Dust your hands and workspace lightly with flour, but don’t overdo it—too much flour can make the dough tough.
- Tears Easily? Allow the dough to rest longer. This gives the gluten time to relax and increases elasticity.
« Remember, dough has a personality. Treat it with care, and it will reward you with perfection. »
Rolling Techniques for a Seamless Sheet
If you’re rolling dough by hand, consistency is key. Start from the center and roll outward, rotating the dough 90 degrees with each pass. This ensures an even thickness throughout.
For pasta machines, begin with the widest setting and gradually work down to thinner settings. Don’t skip steps—it helps the dough stretch without tearing.
Preserving and Storing Cappelletti Pasta
Freezing Cappelletti for Later
One of the best things about cappelletti is that they freeze beautifully. To freeze:
- Arrange the uncooked cappelletti in a single layer on a baking sheet.
- Place the sheet in the freezer for about 2 hours, or until the cappelletti are firm.
- Transfer them to an airtight container or freezer bag.
When ready to cook, there’s no need to thaw. Simply add the frozen cappelletti to boiling water and cook for an extra minute or two.
Refrigerating Fresh Cappelletti
If you plan to cook cappelletti within a day, store them in the fridge. Place them in a single layer on a tray and cover with a damp kitchen towel to prevent drying out.
Regional Variations of Cappelletti Pasta
Every Italian nonna has her unique spin on cappelletti, reflecting the flavors and ingredients of her region.
- Emilia-Romagna: The birthplace of cappelletti, this region often features fillings like Parmigiano-Reggiano, nutmeg, and ground pork.
- Marche: In this coastal region, you’ll find cappelletti filled with fish or seafood.
- Umbria: Known for earthy flavors, cappelletti here might include wild mushrooms or truffles.
Exploring regional recipes adds depth to your appreciation of cappelletti’s cultural significance.
Pairing Wines with Cappelletti Pasta
Cappelletti’s versatility extends to wine pairings. Here are a few suggestions:
- Cappelletti in Broth: Pair with a light, aromatic white wine like Pinot Grigio or Soave.
- Cheese-Filled Cappelletti with Butter Sauce: Opt for a Chardonnay to complement the creamy flavors.
- Meat-Filled Cappelletti with Tomato Sauce: Choose a medium-bodied red like Sangiovese or Barbera.
Wine enhances the flavors of cappelletti, turning a simple meal into a sophisticated experience. 🍷
Enhancing Cappelletti with Seasonal Ingredients
Spring and Summer Variations
Light, fresh ingredients shine during warmer months:
- Lemon Zest and Ricotta: Add brightness to your filling.
- Basil and Cherry Tomatoes: Toss cappelletti with a simple basil-tomato sauce for a garden-inspired dish.
Fall and Winter Variations
Comforting flavors take center stage in colder weather:
- Butternut Squash and Sage: A classic pairing that feels like a warm hug.
- Chestnut and Pancetta: Rich and hearty, ideal for holiday gatherings.
« Cooking seasonally isn’t just delicious—it’s a way to connect with nature’s rhythm. »
Nutrition Facts for Cappelletti Pasta
| Nutrient | Per Serving (10 Pieces) |
|---|---|
| Calories | 210 |
| Protein | 8g |
| Carbohydrates | 32g |
| Fat | 5g |
| Fiber | 2g |
| Sodium | 120mg |
This table provides a general idea of cappelletti’s nutritional profile, though values may vary depending on your filling and sauce choices.
FAQs About Folding Cappelletti Pasta
How long does it take to fold cappelletti?
Folding cappelletti takes about 15-20 minutes per batch once you’ve got the hang of it. For beginners, expect it to take a little longer—it’s all part of the fun!
Can I freeze cappelletti before cooking?
Yes, you can! Place them on a floured tray and freeze them in a single layer. Once frozen, transfer them to a zip-top bag. They’ll keep for up to 2 months.
What fillings work best for beginners?
Start with cheese-based fillings like ricotta or Parmesan. They’re easy to handle and less likely to leak.
Do I need a pasta machine to make cappelletti?
Not necessarily! While a pasta machine ensures consistent dough thickness, a rolling pin works just as well with a bit of patience.
What should I do if my cappelletti won’t seal?
Dab a tiny amount of water along the edges of the dough before pressing—it acts like glue.
Can I make gluten-free cappelletti?
Yes, use a gluten-free flour blend designed for pasta. Just be prepared for a slightly different texture and feel during shaping.
Conclusion: Why Folding Cappelletti Is Worth the Effort
Now that you know how to fold cappelletti pasta, you can bring the magic of Italian tradition right to your kitchen
Folding cappelletti pasta is more than a cooking skill—it’s an act of love and artistry. Each step, from mixing dough to pinching those final folds, is a connection to Italian culinary heritage.
Whether you’re a seasoned cook or trying this for the first time, embrace the imperfections, celebrate the successes, and enjoy the delicious rewards.
So, are you ready to turn your kitchen into an Italian trattoria? Gather your ingredients, roll up your sleeves, and let the cappelletti-making adventure begin. Your taste buds will thank you! 🍝

