Learning how to pack a Dutch oven for camping is essential for any outdoor enthusiast. A well-packed Dutch oven ensures it arrives safely at your campsite, ready to help you create delicious meals, from hearty stews to freshly baked cobblers. Since Dutch ovens are heavy and delicate, proper packing protects them from damage and simplifies your camping experience.
This guide covers everything you need to know about packing your Dutch oven for camping. If you’re still learning how to use it outdoors, this guide on how to cook with a Dutch oven on a campfire will help you prepare delicious meals after it’s packed and ready
Importance of Proper Packing for Longevity and Convenience
A Dutch oven is an investment. Proper packing protects it from scratches, dents, and rust, ensuring it lasts for years. Efficient packing also makes your camping experience smoother, with all your tools and accessories organized and ready to use.
Common Mistakes to Avoid When Packing a Dutch Oven
- Skipping Cleaning and Seasoning: A dirty Dutch oven can develop rust or odors during transport.
- Insufficient Padding: Failing to cushion the Dutch oven can lead to chips or scratches, especially in transit.
- Packing Accessories Separately: Forgetting to pack accessories like lid lifters or trivets with the oven can lead to disorganization at the campsite.
Preparing Your Dutch Oven for Packing
Before you pack your Dutch oven, it’s essential to prep it properly to avoid damage or inconvenience on your trip.
Cleaning and Seasoning Your Dutch Oven Before a Trip
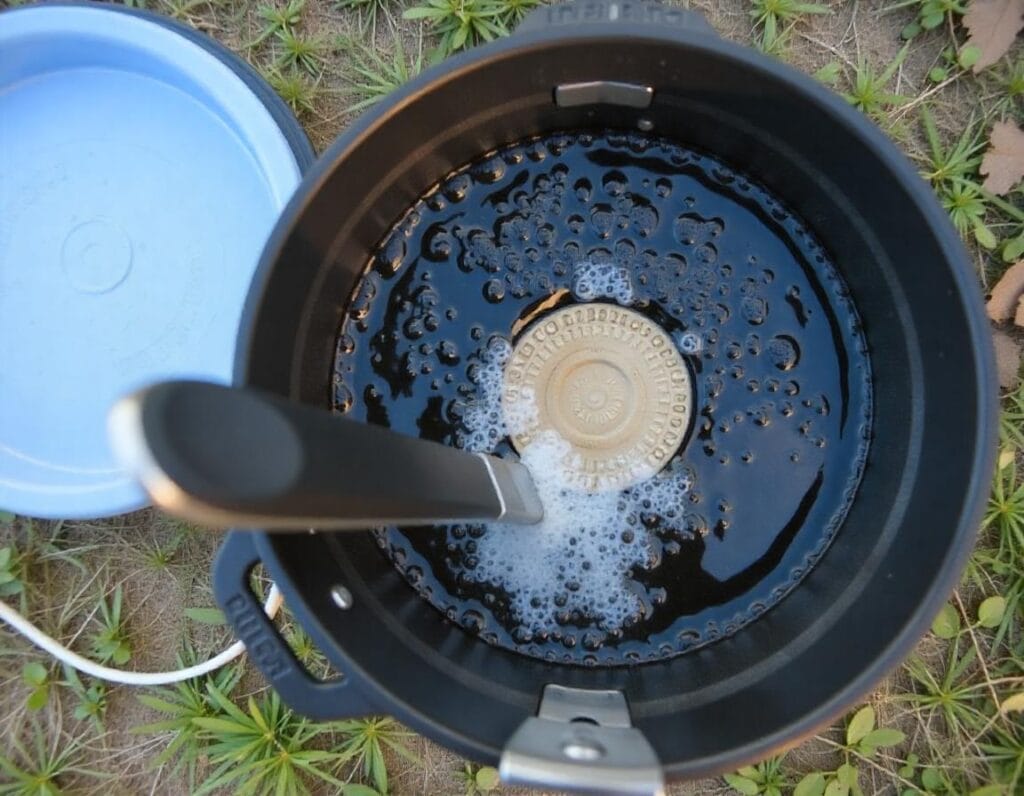
- Clean Thoroughly: Wash the Dutch oven with hot water (no soap), scraping off any food residue.
- Dry Completely: Wipe it dry with a cloth and allow it to air dry to prevent rust.
- Season the Oven: Apply a thin layer of oil to the surface to maintain its seasoning and protect against moisture.

Inspecting for Damage or Wear
- Check for Cracks or Chips: Inspect the Dutch oven and lid for any damage that could worsen during transport.
- Examine the Handles and Legs: Ensure they’re sturdy and free from defects.
Prepping Accessories and Tools for Packing
Gather all essential accessories to keep with your Dutch oven, including:
- Lid lifter
- Heat-resistant gloves
- Charcoal tongs
- Trivet or stand
- Cleaning tools (scraper, oil, and cloth)
Choosing the Right Packing Method
The method you choose for how to pack a Dutch oven for camping will depend on the type of camping you’re planning, whether it’s car camping, backpacking, or something in between.. Here are tailored options to suit your trip.

Packing for Car Camping
For car camping, space and weight are less of an issue. Focus on protecting your Dutch oven and keeping your gear organized.
- Use a Dutch Oven Carry Bag: These bags are padded and designed to fit specific Dutch oven sizes, offering excellent protection.
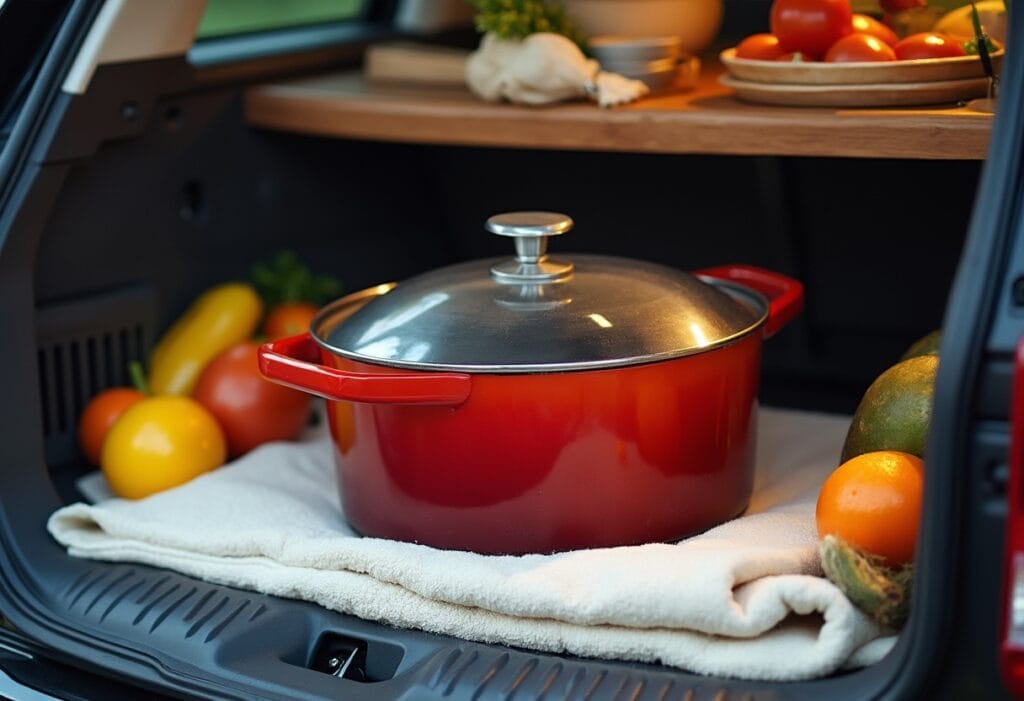
- Add Extra Padding: Wrap the Dutch oven in a thick towel or bubble wrap for additional cushioning during bumpy rides.
- Organize Accessories Together: Store tools like a lid lifter, gloves, and cleaning supplies inside the carry bag or in a separate small container. Then, check out these easy Dutch oven camping recipes to put your gear to good use at the campsite
Packing for Backpacking or Lightweight Trips
Backpacking with a Dutch oven can be challenging due to its weight. For shorter trips or if you’re cooking for a group, a smaller, lightweight Dutch oven may be worth bringing.
- Opt for a Smaller Dutch Oven: A 10-inch model or aluminum Dutch oven is lighter and more portable.
- Wrap for Protection: Use a soft cloth or lightweight towel to wrap the Dutch oven to save weight while still preventing scratches.
- Minimize Accessories: Only pack essential tools, such as a lid lifter and gloves, to reduce bulk.
Using Dutch Oven Carry Bags or Alternatives
- Purpose-Built Carry Bags: Designed to fit specific Dutch oven sizes, these bags provide padded protection and often include compartments for accessories.
- DIY Alternatives: Use a sturdy reusable grocery bag or duffel lined with towels for an affordable, makeshift solution.
Step-by-Step Guide: How to Pack Your Dutch Oven Safely
Follow these steps to master how to pack a Dutch oven for camping safely and effectively.
1: Line the Dutch Oven for Protection
- Place a sheet of parchment paper or a soft towel inside the Dutch oven to protect the interior surface.
- Insert accessories like the lid lifter or gloves, but avoid overloading to prevent scratches.
2: Wrapping and Padding for Transport
- Wrap the Lid Separately: Wrap the lid in a thick towel or bubble wrap to keep it safe from scratches.
- Wrap the Dutch Oven: Use a padded carrying bag, towel, or bubble wrap to cushion the Dutch oven itself.
- Secure Layers: Use bungee cords or straps to keep everything in place if needed.
3: Storing Accessories with Your Dutch Oven
- Pack Together: Keep essential tools like tongs, trivets, and gloves in the same bag or nearby for easy access.
- Use Compartments: If your carry bag has pockets, use them for smaller items like scrapers and oil bottles.
Packing Dutch Oven Accessories
Packing the right accessories with your Dutch oven ensures you have all the tools needed for cooking, cleaning, and maintaining your gear during your camping trip.
Must-Have Accessories to Bring with Your Dutch Oven
- Lid Lifter: Essential for safely handling the hot lid during cooking.
- Heat-Resistant Gloves: Protects your hands from burns when handling the Dutch oven.
- Charcoal or Firewood Tongs: For safely placing and adjusting coals or embers.
- Trivet or Stand: Keeps the Dutch oven stable and elevates it off the ground for better heat control.
Packing Tools for Cooking and Cleaning
- Cooking Tools:
- Long-handled spoon for stirring.
- Silicone or wooden spatula to avoid scratching the surface.
- Cleaning Supplies:
- Wooden or silicone scraper for removing food residue.
- A small bottle of cooking oil for seasoning.
- Microfiber cloths for drying and wiping.
Tips for Storing Charcoal or Firewood for Dutch Oven Cooking
- Charcoal:
- Pack charcoal in a waterproof bag or container to keep it dry.
- Use a resealable plastic bucket for easy transport.
- Firewood:
- Store firewood in a separate bag or net to prevent debris from mixing with other gear.
- Ensure the wood is dry and pre-cut into manageable sizes.
Tips for Efficient and Safe Packing
To ensure your Dutch oven and gear stay in top condition, follow these tips for safe and efficient packing.
Keeping the Dutch Oven Stable During Transport
- Place the Dutch oven flat in your vehicle, ideally on a padded surface like a folded blanket.
- Surround it with other stable gear to prevent shifting during the trip.

Preventing Damage from Moisture or Rust
- Ensure the Dutch oven is completely dry before packing to avoid rust.
- Store it with a moisture absorber (like silica gel packs) if you’re camping in a humid environment.
Organizing Cooking Gear with Your Dutch Oven
- Use a dedicated container or bag for all your cooking tools and accessories to keep them organized and easy to find.
- Label or color-code containers for quick identification at the campsite.
Additional Tips for Packing a Dutch Oven
Proper packing not only ensures your Dutch oven’s safety but also makes your camping experience more enjoyable. Here are some advanced tips and considerations:
Use Protective Layers
- Cardboard Liners: Place a piece of cardboard between the Dutch oven and its lid to prevent scratches during transport.
- Bubble Wrap for Lids: Since the lid is the most vulnerable part of the Dutch oven, wrapping it separately in bubble wrap adds extra protection.
Weight Distribution in Vehicles
- Place the Dutch oven low in your vehicle, such as on the floor of the trunk, to prevent it from shifting and causing damage to other gear.
- Avoid stacking heavy items on top of the Dutch oven to reduce the risk of dents or cracks.
Preventing Odors
- Store your Dutch oven with a crumpled piece of parchment paper or a small bag of rice inside to absorb moisture and odors.
- Avoid storing food in the Dutch oven during transport, as residual moisture or spills can lead to rust or lingering smells.
Customizing Your Carry System
- Repurpose Bags: If you don’t own a Dutch oven carry bag, an insulated cooler bag can work well for protection and portability.
- DIY Padding: Old towels, blankets, or foam pads can be repurposed for shock absorption during transport.
FAQs About Packing a Dutch Oven for Camping
Can You Stack Other Items in Your Dutch Oven for Transport?
Yes, the interior of your Dutch oven can be used to store smaller items during transport, but with some precautions:
- Line the interior with a soft cloth or parchment paper to prevent scratches.
- Avoid placing heavy or sharp objects inside that could damage the surface.
- Store lightweight accessories like gloves, a lid lifter, or scrapers to save space.
How Do You Store a Dutch Oven After Use on a Camping Trip?
Proper storage after use ensures your Dutch oven stays in excellent condition:
- Clean It Immediately: Rinse with hot water and scrape off any food residue. Avoid using soap to preserve seasoning.
- Dry Thoroughly: Wipe it dry and let it air out to prevent rust.
- Reapply Oil: Coat the surface with a thin layer of oil to maintain seasoning.
- Pack Separately: If possible, store it in a carry bag or wrap it in a towel to protect it during the return trip.
Are Dutch Oven Carry Bags Necessary?
While not strictly necessary, a carry bag is highly recommended for convenience and protection. Carry bags are designed to fit specific Dutch oven sizes and often come with padding to prevent scratches and damage during transport. If you don’t have a carry bag, wrapping the Dutch oven in towels or using a sturdy box can be a good alternative.
What’s the Best Way to Prevent Rust During Camping?
Rust is a common concern when using a Dutch oven outdoors, but you can avoid it with these steps:
- Keep It Dry: Always dry the Dutch oven thoroughly after cleaning, both at the campsite and after returning home.
- Season Regularly: Reapply a thin coat of oil before and after use to maintain a protective layer.
- Avoid Prolonged Moisture: Store the Dutch oven in a dry area and use moisture absorbers like silica gel packs if necessary.
How Should You Transport Charcoal or Firewood with a Dutch Oven?
Charcoal or firewood is essential for campfire cooking, but proper storage ensures they remain usable:
- Pack charcoal in a waterproof container or heavy-duty resealable bags.
- Use a dedicated firewood bag or mesh sack to keep wood debris separate from your cooking gear.
- Keep all fuel sources away from food and cooking accessories for hygiene and safety.
🔥 Want to avoid damaging your gear? Before using your Dutch oven, make sure you know what not to cook in a Dutch oven—especially on the go
Can You Use an Enameled Dutch Oven for Camping?
Enameled Dutch ovens are more delicate than their cast iron counterparts and are not ideal for direct campfire use. The enamel coating can crack or chip under high heat or when exposed to coals. Stick to bare cast iron Dutch ovens for durability and versatility in camping conditions.
Expanded Conclusion: Packing Your Dutch Oven for a Seamless Camping Experience
Mastering how to pack a Dutch oven for camping is just as important as learning to cook with it. By taking the time to clean, season, and organize your gear, you ensure a seamless camping experience while protecting your investment. By cleaning, seasoning, and organizing your Dutch oven and accessories before you leave, you can protect your investment and simplify your camping setup.
The right packing techniques—whether you’re car camping or backpacking—can make all the difference. Using padded carry bags, layering with towels, and organizing tools alongside your Dutch oven creates a streamlined and efficient system that saves time and reduces stress.
By following the steps outlined in this guide, you can confidently transport your Dutch oven, ensuring it’s ready to help you create delicious meals under the stars. With proper care, your Dutch oven will become a cherished part of your camping adventures for years to come. Next, learn how to cook with your Dutch oven over a campfire and get the most out of your well-packed setup

