Baking Making cookies is one of the most delightful kitchen activities, but did you know that there’s a specific process to ensure perfection every time? What are the 7 steps in making cookies? These essential steps, from gathering ingredients to storing the final product, are the key to transforming simple components into mouthwatering treats. Follow along as we dive into each step to unlock the secrets of baking cookies that are as beautiful as they are delicious. 🍪cookies isn’t just about mixing ingredients; it’s a journey of love, patience, and skill. Ready to master the art of cookie-making? Let’s dive in! 😊
Understanding the Basics of Cookie Making
To create the perfect cookie, understanding the process is essential. Baking is a science—a little tweak here or there can make your cookies crispy, chewy, or gooey. The seven steps we’ll cover serve as your blueprint. If you follow them closely, success is almost guaranteed. Think of it like following a treasure map where the X is a plate of freshly baked cookies.
The Importance of Following the 7 Steps
Why seven steps, you ask? Baking cookies is like building a house; you can’t just slap on a roof before laying the foundation. Each step plays a key role in ensuring the final product tastes, looks, and feels just right. Skipping a step or doing it out of order is like trying to paint a masterpiece with a broken brush—it just won’t work!
Tools and Ingredients You Need for Perfect Cookies

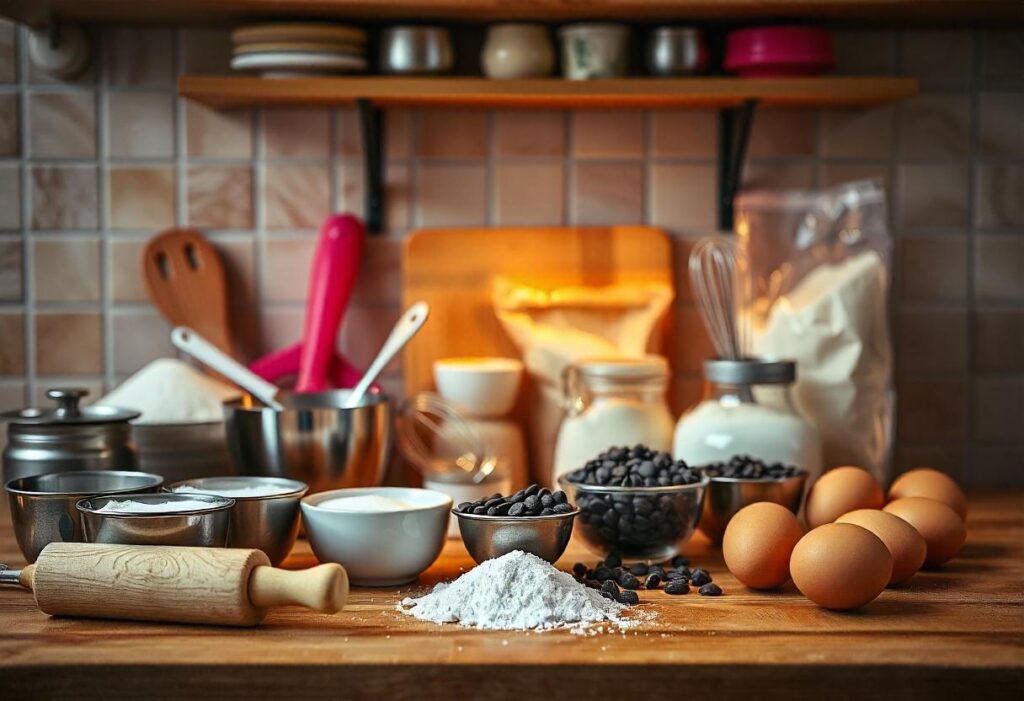
Before we even get into the steps, let’s talk about preparation. You wouldn’t start a road trip without packing your bags, right? Similarly, baking cookies requires some essentials:
Tools You’ll Need:
- Mixing bowls (one large, one medium)
- Measuring cups and spoons
- A hand or stand mixer
- Baking sheets
- Parchment paper or silicone mats
- A cooling rack
Ingredients (Standard Cookie Recipe):
| Ingredient | Quantity |
|---|---|
| Unsalted butter | 1 cup (softened) |
| Granulated sugar | 3/4 cup |
| Brown sugar | 3/4 cup |
| Eggs | 2 large |
| Vanilla extract | 1 teaspoon |
| All-purpose flour | 2 1/4 cups |
| Baking soda | 1 teaspoon |
| Salt | 1/2 teaspoon |
| Chocolate chips | 2 cups |
Step 1: Gathering and Preparing Ingredients
The first step in baking cookies is arguably the most important: preparation. Forgetting an ingredient mid-way through the process can throw off the entire rhythm.
Before you start, measure out each ingredient accurately. Baking is precise—eyeballing quantities is like trying to guess how much gas you need for a cross-country drive. Spoiler alert: it rarely ends well.
Pro Tip: Use a digital scale for ultra-accurate measurements, especially for dry ingredients like flour. 🧈
Common Mistakes When Measuring Ingredients
Let’s be honest: we’ve all overfilled a cup of flour or packed down the brown sugar too much. These small errors can lead to cookies that are too dense, dry, or overly sweet. When measuring flour, for example, use the spoon-and-level method instead of scooping directly from the bag. It makes a world of difference.
« Cooking is an art, but baking is a science. Precision is the secret ingredient in every successful cookie. »
Tips for Prepping Ingredients Ahead of Time
Want to save time? Pre-measure your ingredients into small bowls before you start mixing. This is called mise en place, a fancy French term meaning “everything in its place.” It’s a game-changer, especially when baking with kids or in a rush.
Step 2: Mixing Ingredients for a Perfect Dough

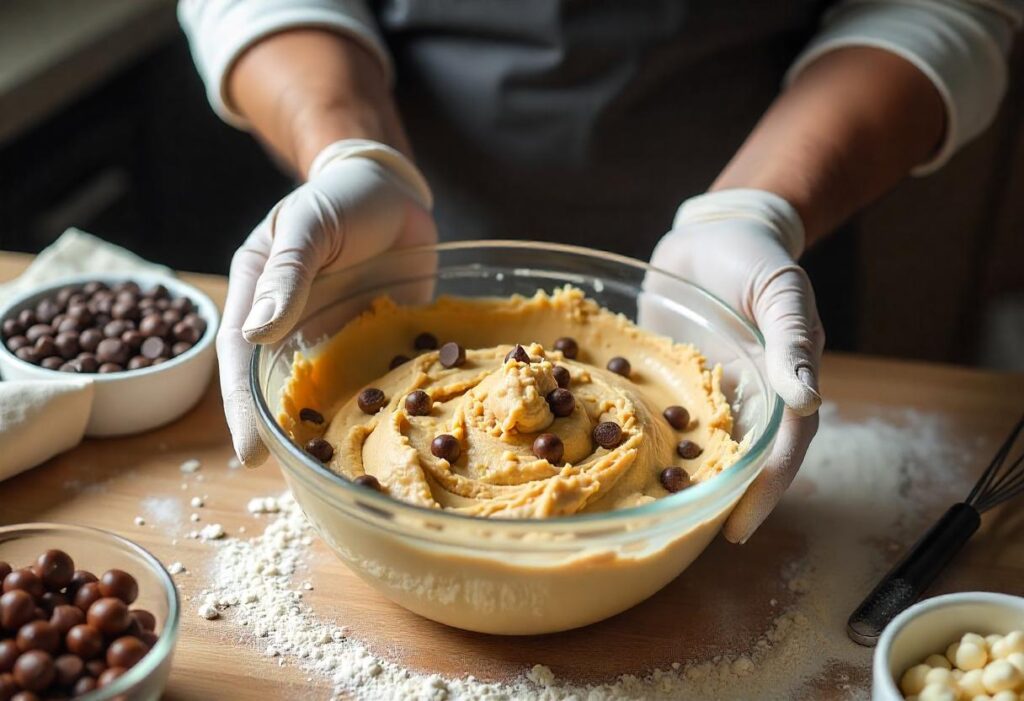
Here comes the fun part—mixing! This step is where all the magic begins. Start by creaming the butter and sugars together. This creates a fluffy base that makes your cookies light and airy. Once the mixture is pale and smooth, add in the eggs and vanilla. Mix just until combined.
In a separate bowl, whisk together the dry ingredients: flour, baking soda, and salt. Slowly incorporate these into the wet mixture. Stop mixing as soon as you don’t see any flour streaks; overmixing can develop the gluten, making your cookies tough.
Wet vs. Dry Mixing: What You Need to Know
Why separate wet and dry ingredients? Think of it as keeping oil and water apart until you’re ready to blend. Combining them too early can lead to clumps, which nobody wants in their cookies.
Avoiding Overmixing: Why It Matters
It’s tempting to let the mixer keep going for a perfectly uniform dough, but this can backfire. Overmixing can turn your cookie dough into bread dough. Remember, the goal here is cookies, not dinner rolls!
Emoji Summary: Mix carefully = 😋 Overmixing = 😖
Step 3: Resting the Dough for Better Flavor
Here’s a step most people overlook—resting the dough. Allowing it to sit in the refrigerator for at least 30 minutes (or up to 72 hours) lets the flavors meld and the dough firm up. Trust me, this patience pays off!
How Long Should You Rest Cookie Dough?
If you’re in a hurry, even a short 15-minute rest can help. However, overnight is ideal. The longer rest allows the sugars to absorb moisture, making for a richer, caramelized flavor.
« Good things come to those who wait—especially when it’s cookies! »
The Science Behind Dough Resting
Resting the dough also alters its texture. Cold dough spreads less during baking, giving you thicker, chewier cookies. It’s like letting a steak rest after cooking—essential for the best results.
Step 4: Shaping and Portioning Cookies

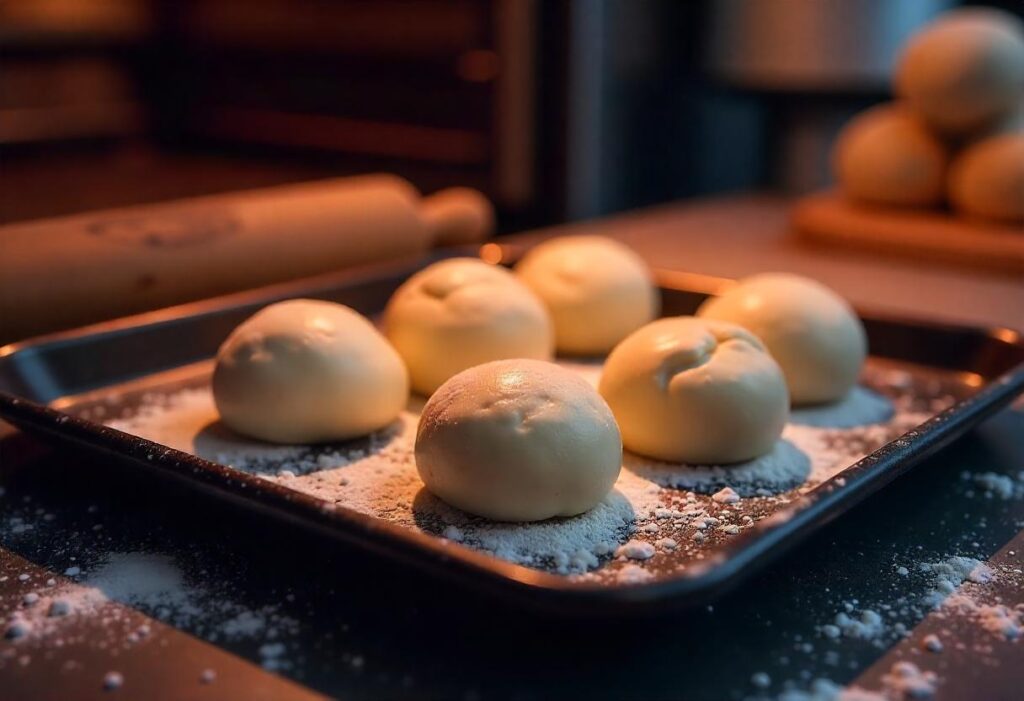
Now that your dough is ready, it’s time to shape and portion it. Use a cookie scoop for even-sized portions. This ensures every cookie bakes evenly, avoiding the sad sight of one burned cookie among a batch of perfect ones.
Using Tools for Consistent Sizes
A small ice cream scoop works wonders for portioning dough. If you’re feeling fancy, weigh each dough ball on a scale to ensure uniformity. Yes, it’s extra work, but your inner perfectionist will thank you.
Shaping Techniques for Different Cookie Types
Want to switch things up? Roll the dough into balls for classic round cookies or flatten them slightly for a more rustic look. Feeling adventurous? Use cookie cutters for fun shapes—perfect for themed parties or holidays!
Nutrition Facts for Classic Chocolate Chip Cookies
| Nutrient | Per Cookie |
|---|---|
| Calories | 120 |
| Fat | 6g |
| Carbohydrates | 16g |
| Protein | 1g |
| Sugars | 10g |
| Fiber | 0.5g |
Step 5: Baking Cookies to Perfection
Finally, the moment you’ve been waiting for—baking! This step turns your prepared dough into delicious cookies. But don’t just pop the tray in the oven and hope for the best. To get that perfect golden-brown exterior with a soft, gooey center, you need to pay attention to temperature and timing.
Preheat your oven to 350°F (175°C). Preheating ensures consistent heat from the moment your cookies hit the rack. Line your baking sheets with parchment paper or silicone mats to prevent sticking and make cleanup a breeze.
How to Determine the Right Temperature and Time
While 350°F is the standard for most cookies, oven temperatures can vary. Always check your cookies 2-3 minutes before the timer goes off. Why? Every oven has its quirks, much like people—some run hotter, others cooler.
For standard chocolate chip cookies, bake for 10-12 minutes. Remove them when the edges are golden but the centers still look slightly undercooked. They’ll continue to bake on the hot tray after being removed from the oven. 🍪
« Remember, cookies are like relationships—they need just the right amount of heat and attention to turn out perfect. »
Recognizing Signs of Properly Baked Cookies
Not sure if your cookies are ready? Look for lightly browned edges, a soft, puffy center, and an irresistible aroma wafting through the kitchen. Overbaked cookies will feel hard and dry, while underbaked ones might fall apart when picked up.
Emoji Tip:
✅ Slightly golden edges = Perfect!
❌ Dark brown edges = Burned!
Step 6: Cooling Cookies for Best Texture
Cooling is an essential step many people rush through. When cookies come out of the oven, they’re still soft and delicate. Giving them time to cool ensures the structure sets, locking in the flavors and texture.
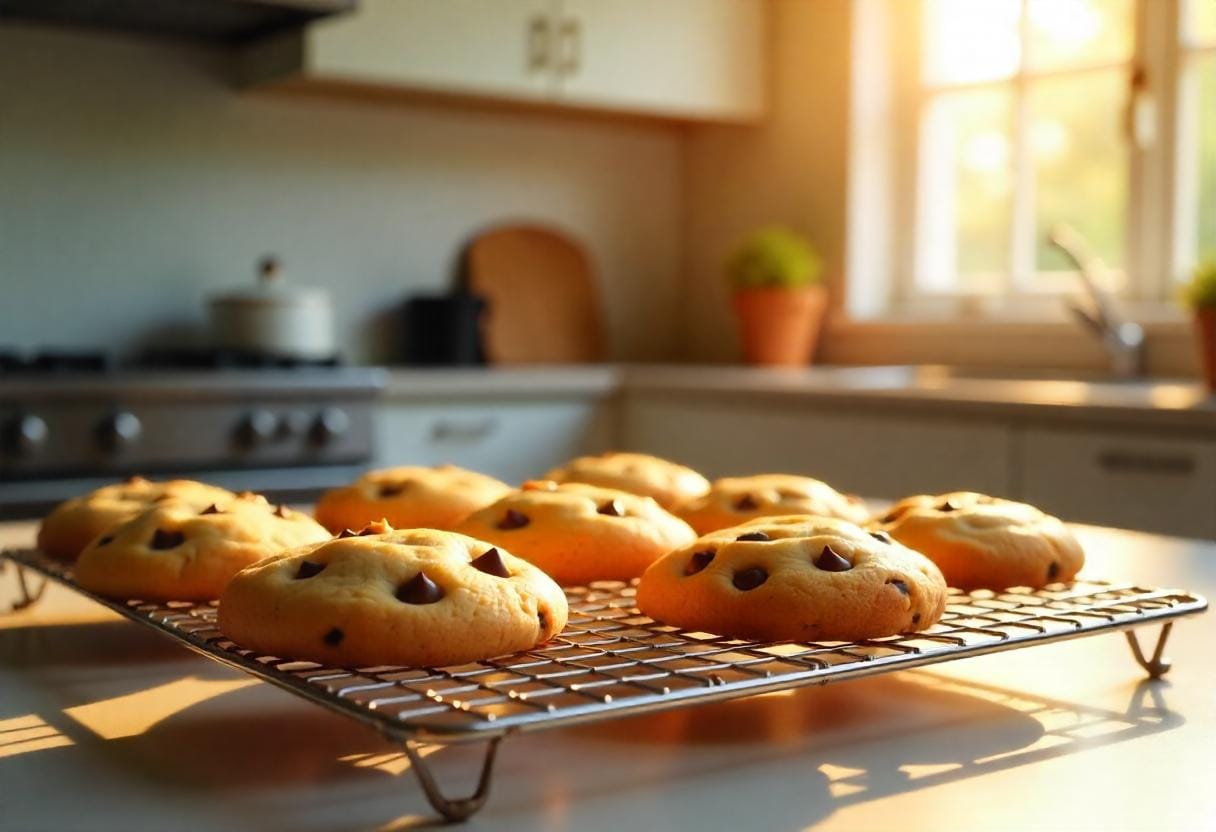
Transfer the cookies to a cooling rack after 2 minutes on the tray. Cooling racks allow air to circulate around the cookies, preventing the bottoms from becoming soggy.
Why Proper Cooling Is Essential
Ever burned your tongue on a fresh-from-the-oven cookie? Cooling isn’t just about safety; it’s about letting the flavors settle and the texture stabilize. Eating a cookie too soon is like opening a gift before the wrapping is off—it’s just not the full experience.
Tools to Speed Up Cooling Without Compromising Quality
If patience isn’t your strong suit, you can speed up the process slightly by placing the cooling rack in a cooler area of your home. Avoid sticking cookies in the fridge or freezer; sudden temperature changes can make them brittle. Let the cookies cool naturally—it’s worth the wait!
Step 7: Storing and Serving Your Cookies
You’ve made it to the final step: storing and serving. Whether you’re keeping them for yourself (no judgment!) or sharing them with friends, proper storage is key to maintaining freshness.
Best Storage Practices for Longevity
Store cookies in an airtight container at room temperature. Add a slice of bread or an apple wedge to the container to keep them soft—this little trick works wonders! If you’ve made a big batch, freeze the extras. Wrap them individually in plastic wrap and store them in a freezer bag for up to 3 months.
« A good cookie is a gift that keeps on giving—if you store it right, it can last for days (or weeks)! »
Creative Serving Ideas to Impress Guests
When it’s time to serve, go beyond the cookie jar. Arrange your cookies on a platter with a dusting of powdered sugar for a touch of elegance. Pair them with milk, coffee, or tea for a classic combination, or create a cookie sundae with ice cream, chocolate sauce, and whipped cream. 🍦🍪
Common Problems When Making Cookies and How to Fix Them
No one’s perfect, and even the best bakers encounter hiccups. Here are a few common cookie conundrums and how to solve them:
Why Are My Cookies Flat or Hard?
Flat cookies are often caused by using butter that’s too soft or melted. Next time, chill the dough before baking. Hard cookies? You might’ve overbaked them or used too much flour. Remember, baking is about balance!
Solutions for Uneven Baking
Uneven baking happens when cookies aren’t portioned equally or when your oven has hot spots. To fix this, use a cookie scoop for uniform dough balls and rotate your baking sheet halfway through the bake time.
Quick Troubleshooting Table:
| Problem | Cause | Solution |
|---|---|---|
| Cookies too flat | Butter too soft | Chill dough before baking |
| Cookies too hard | Overbaked or too much flour | Adjust bake time or flour amount |
| Uneven baking | Uneven dough or hot oven spots | Use a scoop and rotate the tray |
Tips for Customizing Cookies to Suit Any Occasion
Cookies are versatile, making them perfect for holidays, birthdays, or even lazy Sundays. Want to jazz up your basic recipe? Here are some ideas:
Adjusting Ingredients for Unique Flavors
Add spices like cinnamon, nutmeg, or cardamom for a warm, seasonal touch. Swap chocolate chips for white chocolate, dried cranberries, or even peanut butter chips. Feeling bold? Sprinkle in a pinch of sea salt for a sweet-savory combo that’s out of this world. 🌟
Decorating Techniques for Festive Occasions
Turn your cookies into edible works of art with decorations. Use royal icing for intricate designs, sprinkles for a playful vibe, or edible glitter for a touch of glam. Let your creativity shine!
FAQs
Why is it important to rest cookie dough?
Resting cookie dough enhances flavor and texture by allowing the ingredients to meld and hydrate.
How do I prevent cookies from sticking to the tray?
Use parchment paper or a silicone mat to prevent sticking and ensure even baking.
Can I bake cookies without eggs?
Yes! Substitute eggs with applesauce, yogurt, or a flaxseed-water mixture for similar results.
What’s the best way to keep cookies soft?
Store them in an airtight container with a slice of bread or apple to maintain moisture.
Why are my cookies spreading too much?
Your dough might be too warm. Chill it before baking to control spreading.
How can I make my cookies chewier?
Use more brown sugar than granulated sugar and don’t overbake. Brown sugar retains moisture, resulting in chewier cookies.
Conclusion: Mastering the Art of Cookie Making
There you have it—the seven steps to cookie perfection. From gathering your ingredients to storing the final product, every step plays a vital role in crafting cookies that delight every bite. Now that you know what are the 7 steps in making cookies, you’re ready to bake delicious cookies every time. So what are you waiting for? Preheat that oven and get baking! 🍪✨

